
Do-it-yourself (DIY) wellness and health methods have become increasingly popular in recent years, giving people the freedom to manage their health from the comforts of their homes. DIY Vacuum Therapy is one such new wellness method; it’s a non-invasive method that enhances general wellness, blood circulation, and muscle relaxation. Here, we will read about DIY vacuum therapy and its advantages and will offer helpful hints and methods for implementing it into your daily routine at home.
Table of Contents
Understanding Vacuum Therapy
Vacuum treatment has roots in traditional medicine from ancient times. It is also commonly referred to as vacuum massage or cupping therapy. To increase blood flow and aid in healing, a vacuum is created inside a cup or other device and applied to the skin. When it comes to DIY vacuum treatment, anyone can profit from this therapy without the help of a professional by using easily accessible gear and procedures.
Benefits of DIY Vacuum Therapy
A better flow of blood
- DIY vacuum therapy increases blood circulation, which is essential for the nutrition and oxygenation of cells and the removal of waste products from the body.
- Better circulation can prevent diseases such as varicose veins and improve the health of the heart and blood vessels.
Relaxation of Muscles
- A suction created by a vacuum therapy machine reduces muscle tension and improves flexibility.
- DIY Vacuum Therapy is particularly beneficial for those with tense or stiff muscles from physical exercise or a sedentary lifestyle.
Detoxification
- The body may eliminate impurities more easily when lymphatic drainage and blood circulation are encouraged by vacuum therapy.
- This cleansing process may improve general wellness and skin health.
Reduction of Cellulite
- DIY Vacuum Therapy proponents claim that their technique can help reduce the appearance of cellulite by breaking down fat deposits and promoting lymphatic drainage.
- Despite the paucity of research on this specific subject, numerous individuals claim improvements in the texture of their skin.
Homemade Vacuum Therapy Methods
Sets for Cupping
- Cupping sets are readily available and typically include silicone or glass cups for at-home use.
- To do DIY Vacuum Therapy using cupping sets, apply oil to the skin to reduce friction, place the cup over the desired spot, and then push or twist the cup to create suction.
Vacuum-massaged face
- A face vacuum massage can improve blood circulation, reduce puffiness, and a more youthful appearance.
- Use a set of facial cupping tools or a small face-specific vacuum. Adjust the suction strength to your preferred level after carefully moving the cup over your face in a prearranged pattern.
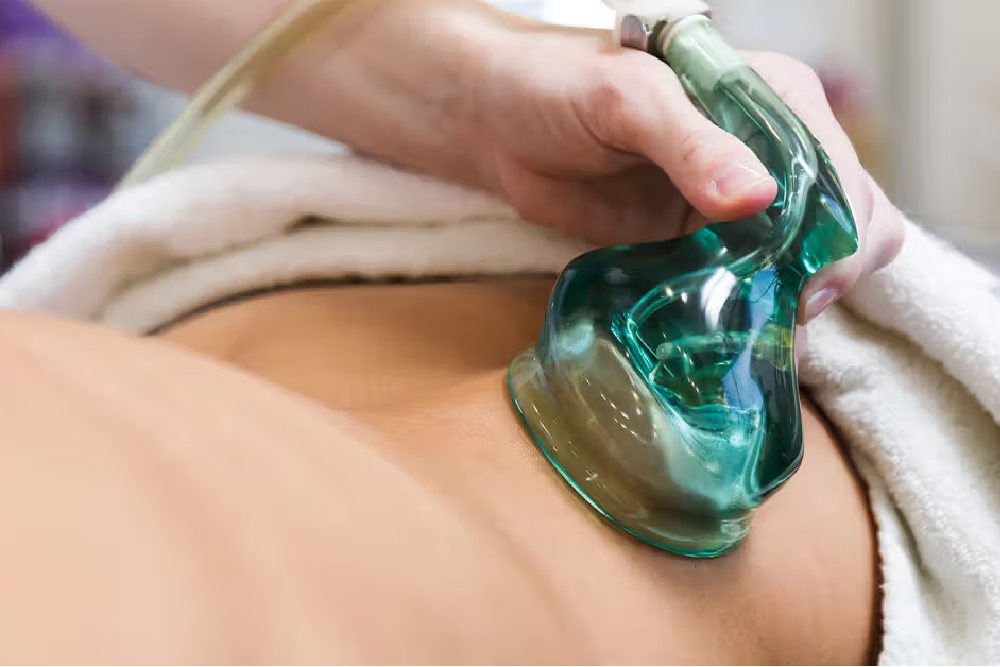
Massage Ventosa
- The hands are used to create suction and glide it over the skin during a ventosa massage.
- Create a vacuum by using your hands to squeeze and release the skin after you’ve applied massage oil to the affected area. You can apply this technique to many body areas.
Handmade Vacuum Equipment
- Some create their own DIY vacuum therapy devices with readily available materials.
- As a heated plastic bottle with its bottom cut off is applied to the skin, for example, the application will cause suction as it cools. Confirming that the device is safe and sterile before utilizing it is crucial.
Tips for Safe and Effective DIY Vacuum Therapy
Begin Gradually
- Start with smaller suction settings and shorter sessions if you’re new to DIY vacuum therapy.
- Increase the intensity gradually as your body adjusts to the therapy.
Employ High-Quality Instruments
- Purchase high-quality vacuums or cupping sets to guarantee efficiency and safety.
- Before using any equipment or cup, ensure it’s free of flaws and damage. Replace it if necessary.
Maintain Skin Lubrication
- Before using vacuum therapy, applying lotion or oil to the skin helps to lower friction and improve the cups’ gliding action.
- Select organic oils like jojoba or coconut for additional advantages to your beauty routine.
Observe the instructions and guidelines
- Several websites offer step-by-step directions for DIY Vacuum Therapy lessons and guidelines.
- Use these resources to make sure you are applying the proper methods and staying away from typical blunders.
Prevent Skin Breakage or Irritation
- DIY Vacuum Therapy should not be used on skin that is damaged, inflamed, or burnt.
- Before undergoing vacuum therapy, seek medical advice if you have any pre-existing skin diseases or injuries.
Maintain Hydration
- In addition to being vital for overall health, drinking adequate water can enhance the benefits of vacuum therapy.
- Make sure you are getting enough water before and after your sessions to support the body’s natural detoxifying processes.
Pay Attention to Your Body
- Observe your body’s reaction both during and after DIY Vacuum Therapy.
- Lower the suction intensity or end the treatment if you suffer from severe pain or bruises.
Conclusion
Trying DIY Vacuum Therapy at home is a quick and easy method to benefit from this conventional treatment strategy. Even if there can be advantages for blood flow, muscular relaxation, and general wellness, it’s crucial to proceed cautiously and take safety precautions. By implementing these methods into your daily schedule, you may learn more about do-it-yourself vacuum therapy and how it may help you reach your fitness and health goals. Before beginning a new program, like with any wellness practice, it is advisable to see a healthcare provider, particularly if you have any underlying medical conditions.