When it comes to our appearance, we all want to look our best. Achieving a youthful look is something most of us crave, but how to get it can be a little confusing. We’re bombarded with adverts on revolutionary creams, peels, and even cosmetic surgery when actually the secret to youthful skin might just be at our fingertips.
Ever heard of facial massaging? No, yes, maybe – whatever your knowledge of it, we decided to look at how to tighten & tone your face, a step-by-step guide on how to lift, tighten and brighten skin with (get this) just our hands!
With specific face exercises, you’ll be increasing blood circulation, strengthening facial muscles, and de-puffing the skin. When we target key areas of your face that often show the first signs of aging, you’ll see how these movements can lift your face structure and help your skin to glow! Like most things, if you build these exercises into your routine consistently (daily if you can), you’re going to see results quicker. Whatever your age, we hope these techniques help you fall back in love with your skin.
Table of Contents
Helpful tips before you begin
Always prep your skin before applying any pressure to the face. Firstly, make sure you’re working with a clean base, remove any makeup and dirt. Then apply a hydrating facial oil; this helps your hands glide across your face without damaging the skin. An added benefit is that the movements will actually work your product deeper into the skin to help with your overall complexion.
Working your face is best done in the morning; you’re usually your puffiest when you first wake up, so this is a great opportunity to lift and brighten the skin. Though this workout is for you, so finding a time which fits your schedule will always be okay.
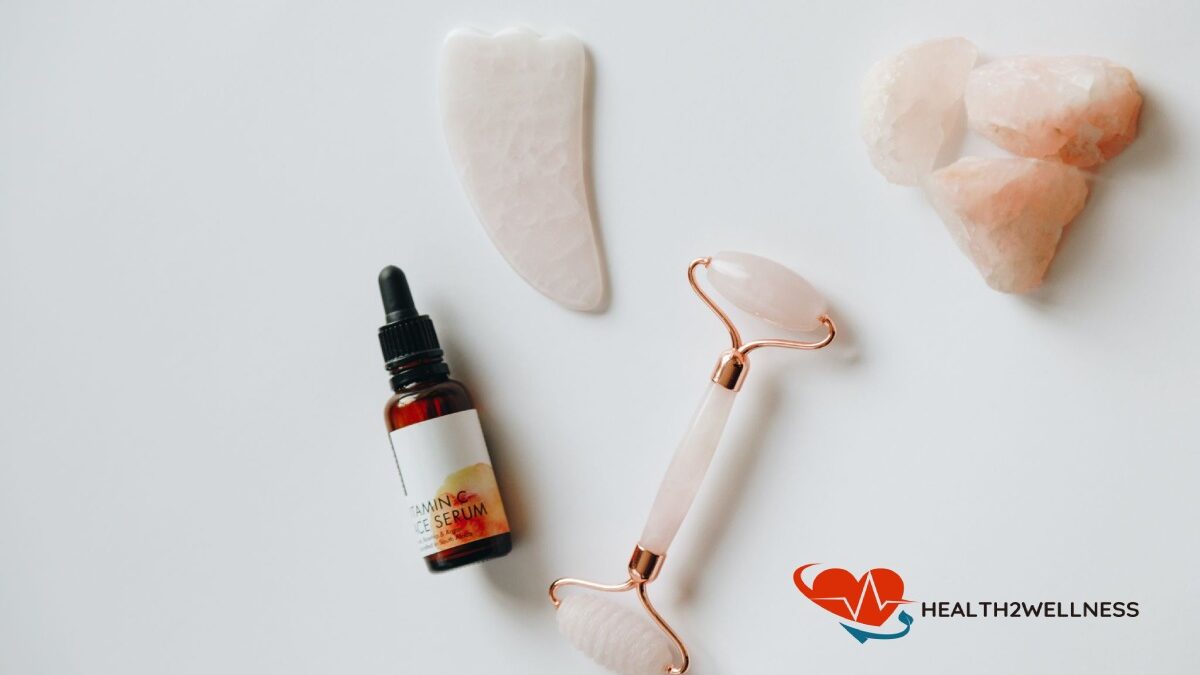
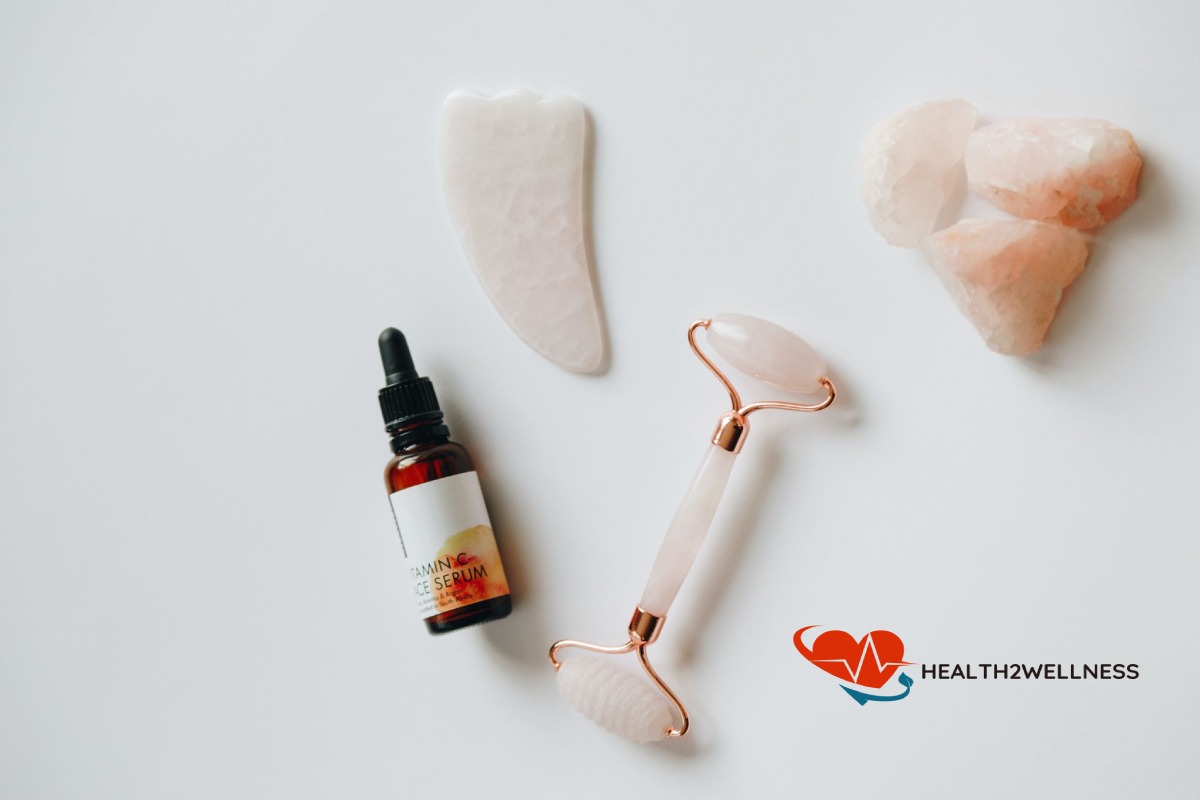
We’re going to focus on using our hands, but if you already have a sculpting tool at home, such as a facial roller or Gua Sha, then these exercises can also be done with a tool instead, a great guide for this can be found on this youtube guide: Inge Theron – FaceGym – Face Ball Tools 101
Define your jawline
1. Holding your chin with one finger, take your first and second finger in a hook shape on your other so that your one finger is above and below the jawline.
2. Using a medium amount of pressure, sweep you hooked fingers from your chin across your jawline towards your ear.
3. When you reach your ear, sweep your fingers down your neck to help drain the fluid.
4. Repeat this 6-8 times, and then do the same for your other side.
Say goodbye to eye bags
1. With your ring finger on each hand, move them in circular motions around your under-eye and over under your eyebrow. You want to be applying a medium amount of pressure.
2. Bend both your index fingers, then using your knuckles move in slow circular movements from the edge of your nose across to the corner of your eye.
3. Then, holding your skin firm by your eye, use the knuckle of your other hand to sweep across from your nose to the side of your face.
4. Repeat each movement 6-8 times.
Banish forehead wrinkles
1. Placing your thumbs on your temples, slowly curl your fingers into the center of your forehead, then using medium pressure start to sweep your fingers towards your thumbs.
2. When your fingers touch thumbs, push your fingers into your hairline and use circular movements upward about 5 times before starting with the full movement again.
3. Repeat 6-8 times.
Cool off
Just like working your body, the muscles in your face need to cool off. Finish off your massaging by slowly moving the sides of your hands from the center to the sides of your face and down your neck. This technique will help drain excess fluid, so your face appears lifted. Top off with a cooling spray to help close your pores and relax your muscles; then you’re good to seize the day!